OK, by now you should have all your fabric pieces cut, and be ready to start sewing! Not quite ready? Just finding us? No worries . . . just click HERE to go back to the beginning — it won’t take you long to get caught up.
This quilt is constructed in rows, with each row made up of different size rectangles and squares. The color vs. background placement is very important, so follow the piecing charts carefully. (If you find the diagrams difficult to read, you can click on them to make them larger.)
One way to double check that you’ve done each row correctly is to fold your finished row in half, end to end — the two halves will mirror each other, since every row is symmetrical. If not, then something is wrong, and it’s best to find this out sooner rather than later, right?
All seams are 1/4″. If you need to make sure your seam allowance is correct, visit THIS post for a method of testing it.
For Row A, I recommend backstitching at the beginning and end of each seam. This will not be necessary on the rest of the rows. Press seams toward the darkest fabric.
I’m giving you the number of pieces you need to make one row, then in parentheses, I’m giving you the total amount of pieces you will need to make all of the rows you need of each type. Also, since all the pieces are 2 1/2″ wide, I’m only referring to them by length.
Follow the instructions for the version you’re making: traditional or modern.
For the Traditional version, Row A (make 2):
Here are the pieces you will need:
Background:
10 1/2″ rectangles: 3 (6)
6 1/2″ rectangles: 2 (4)
Red:
6 1/2″ rectangles: 2 (4)
Black:
6 1/2″ rectangles: 2 (4)
Follow this diagram, and join the pieces together, sewing them end to end. (In the diagram, the numbers indicate the finished size of each patch.) The finished row should measure 2 1/2″ x 66 1/2″.
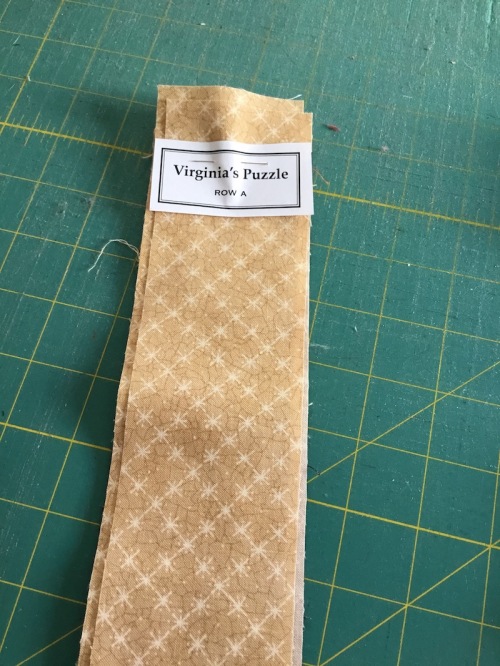
Make 2 of Row A. Use your labels to label these rows. I folded my rows together, then pinned the label on the end:
For the Modern version, Row A (make 2):
Here are the pieces you will need (remember to mix them all up for a scrappy look):
Background:
10 1/2″ rectangles: 3 (6)
6 1/2″ rectangles: 2 (4)
Prints:
6 1/2″ rectangles: 4 (8)
Follow this diagram, and join the pieces together, sewing them end to end. (In the diagram, the numbers indicate the finished size of each patch.) The finished row should measure 2 1/2″ x 66 1/2″.
Make 2 of Row A. Use your labels to label these rows. I folded my rows together, then pinned the label on the end (see photo above).
And that’s it for the first row — easy, huh? The instructions for the next row will be published on April 4th, so be sure and check back. I’m giving you plenty of time to get caught up, if you’re just getting started!

Leave a comment